I’m sorry, I do not have step by step photos. I had the idea and little time to pull it all together. Amongst my normal household duties and seven children. I hope you understand and forgive me.
Y’all have heard of cake balls, right? I posted them here, not my original idea, but I’ve shared Cake Balls here before.
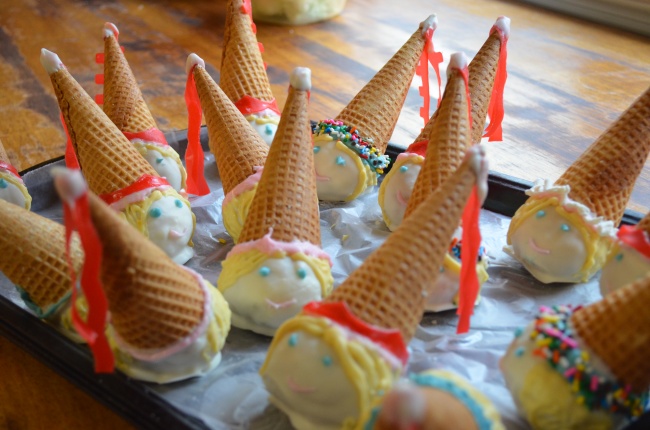
These are just BIGGER cake balls.
You’ll need:
1 box cake mix
1 can frosting
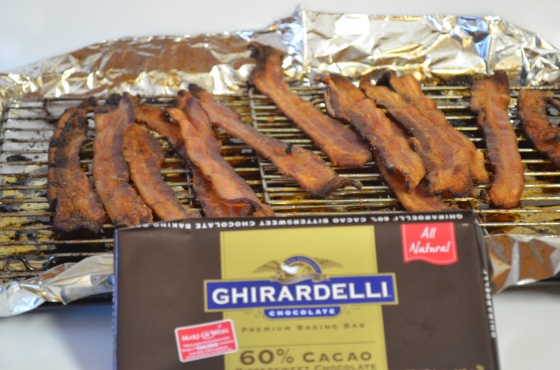
1 pkg almond bark
food coloring
ice cream cones
fruit leather, cut into strips fitting for princess hat tassels and/or brims
sprinkles optional
whatever else you think would nicely decorate a princess head :~p
What you do:
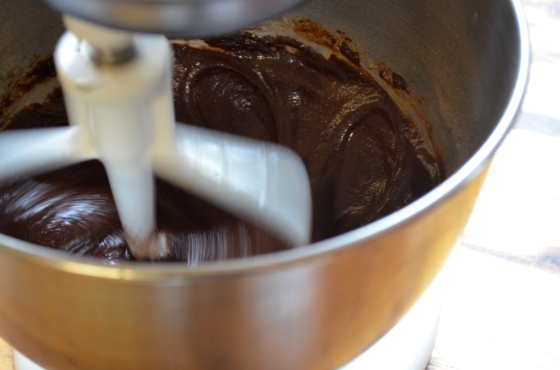
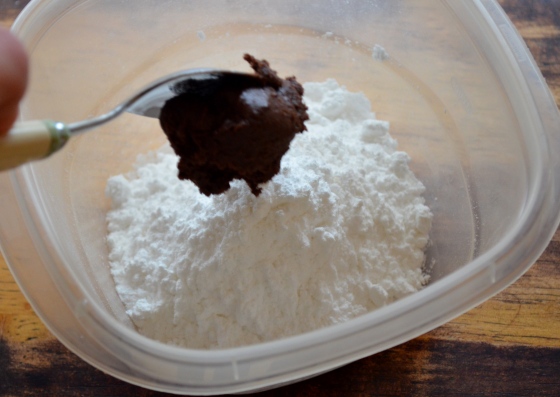
Bake cake according to package directions. Cool slightly then crumble and mix with a can of frosting.
Now you’ll need to line a pan with waxed paper. Shape the cake mix into balls that will fit the cones ‘just right’. I didn’t use a fancy scoop to measure them out evenly. I’m not so organized. :p You eye it and figure it out, then try to be consistent. I ended up with 16 cake balls from one box of cake mix, to give you an idea.
Once you have all the balls made and placed on the wax paper lined cookie sheet, put the sheet into the freezer for a couple of hours. I only had room in my deep freeze and then life happened so mine stayed there overnight. No biggy.
When the cake balls have had a chance to freeze a bit, you want them firm to the touch, try not to rush the freezing, you’ll thank me later. 😉 Then you gently melt your almond bark. I much prefer the double boiler method. (pot of just simmering water on the stove, pop a bowl over that so that just the steam is heating the bowl, melt chocolate in that heat safe bowl)
I started by simply dipping the open end of the cones into the almond bark and attaching it to the cake balls at an angle that seemed proper for a princess wearing her hat. Tilted to the back, ever so slightly.
By the time I got to the last cone, the first one had dried enough that I felt comfortable holding it by the cone. Though never relying on it to fully support the weight of the cake ball. Always cautious! Then, dip, swirl, coat and set it back on the waxed paper to dry. Repeat for each cone/cake ball combo.
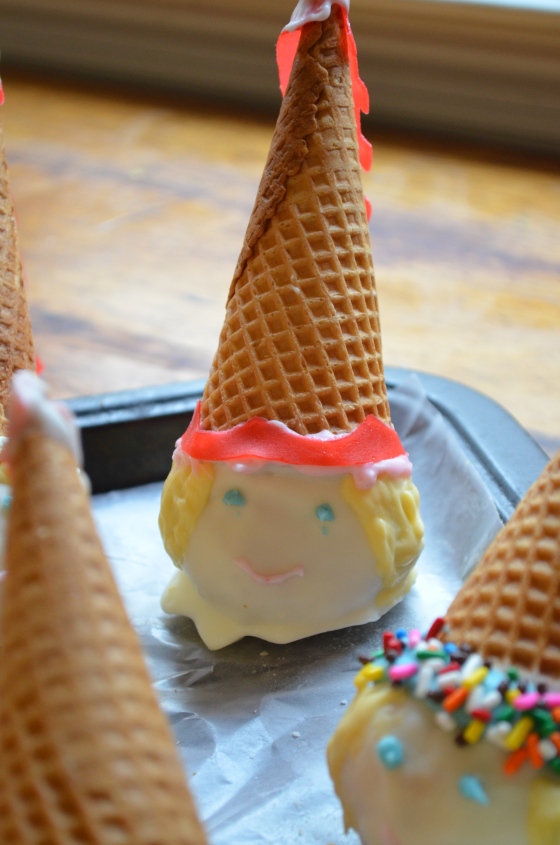
Next you can color portions of the almond bark and make faces. And decorate the brim of the hat. Just mix a little food coloring into small portions of melted almond bark then put that into a piping bag, or sandwich bag (works in a pinch, just snip off a tiny bit at the corner, voila, piping bag! just be careful, that melted almond bark is hot and you FEEL it through the sandwich bag, I’m just sayin’ 😉 )For some I just used the almond bark. For others I added sprinkles immediately after laying on some almond bark. And for yet others, I used strips of fruit leather (fruit by the foot, specifically…each roll came in a different pattern..that was … interesting, but we made it work).
For the tassel, that was the messiest part. Dip the tip of the cone into the melted almond bark, held a couple small strips of fruit leather to it just long enough for it to adhere. Then I came back once that had dried more and dipped again, encasing the fruit leather tip.
Let it all cool and harden. You’re done.
Enjoy!
(and please don’t be hatin’ on my less than stellar decorating skills, I just *have* the ideas, I never perfect them)